Customer comments
Here's what library customers and staff are saying.
Look at the catalogue for ratings, reviews, comments, lists, and more.
Books
Customer comments

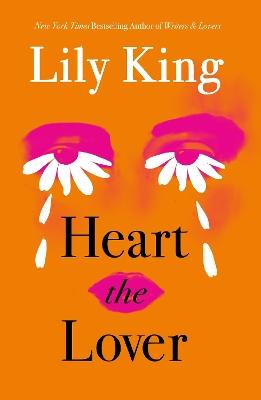
A sweet, nostalgic and heart-wrenching tale of young love and how it follows you long after it's over. Very much in the vein of other literary romance-adjacent…
Read more of this comment about Heart the Lover
a darkly funny look at the world of influencing and the trad wife movement in the U.S. Prepare to be laughing out loud at times, and shuddering at the…
Read more of this comment about Everyone Is Lying to You
Another terrific installment of the unique world of Cesare Aldo and his partner Carlos Strocchi, as they follow the bodies to find a killer with a religious…
Read more of this comment about A Divine Fury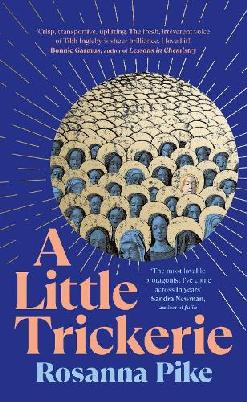
A tale of tricks, belief, and friendship in Tudor England told from the perspective of a teenage vagabond girl finding her way in a world that would brand…
Read more of this comment about A Little TrickerieA sweet, nostalgic and heart-wrenching tale of young love and how it follows you long after it's over. Very much in the vein of other literary romance-adjacent…
Read more of this comment about Heart the Lovera darkly funny look at the world of influencing and the trad wife movement in the U.S. Prepare to be laughing out loud at times, and shuddering at the…
Read more of this comment about Everyone Is Lying to YouAnother terrific installment of the unique world of Cesare Aldo and his partner Carlos Strocchi, as they follow the bodies to find a killer with a religious…
Read more of this comment about A Divine FuryeAudiobooks
Customer comments
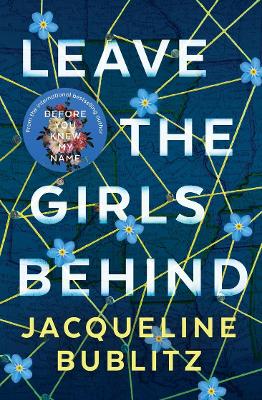
Jaqui B's second novel packs a punch. The premise is pretty out-there; JB revisits the idea of a deceased victim driving the story, as she did in Before…
Read more of this comment about Leave the Girls Behind
Al's voice and interests shine through in his memoir. His young years are touched by trauma as his mum suffer from mental health issues. He starts to run…
Read more of this comment about Sonny Boy
I loved 2024's Perfume and Pain so much that I wanted to explore Anna Dorn's other books pronto. Happy to report Exalted is as splendidly trashy, au courant,…
Read more of this comment about Exalted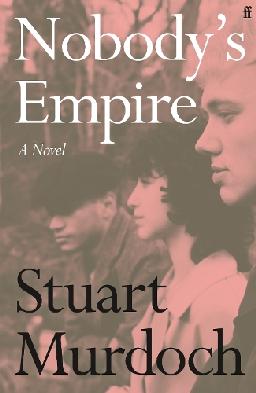
Friends with ME mosey around Glasgow, and then San Francisco and San Diego in this beautiful work of autofiction by Belle and Sebastian's singer and songwriter…
Read more of this comment about Nobody's EmpireJaqui B's second novel packs a punch. The premise is pretty out-there; JB revisits the idea of a deceased victim driving the story, as she did in Before…
Read more of this comment about Leave the Girls BehindAl's voice and interests shine through in his memoir. His young years are touched by trauma as his mum suffer from mental health issues. He starts to run…
Read more of this comment about Sonny BoyI loved 2024's Perfume and Pain so much that I wanted to explore Anna Dorn's other books pronto. Happy to report Exalted is as splendidly trashy, au courant,…
Read more of this comment about ExaltedFriends with ME mosey around Glasgow, and then San Francisco and San Diego in this beautiful work of autofiction by Belle and Sebastian's singer and songwriter…
Read more of this comment about Nobody's EmpireMovies and TV
Customer comments

Sebastian Stan and Jeremy Strong deliver a masterclass as the young up n coming douchey Don and super cynic lawyer Roy Cohn.

Confirms my suspicion that The Academy loves movies in which people "resolve" conflicts by shouting over the top of one another. This movie is... fine.…
Read more of this comment about Anora
This film is probably better if you know nothing about it as there's a reveal that you might not have seen coming but... trailers, you know? Themes of…
Read more of this comment about CompanionSebastian Stan and Jeremy Strong deliver a masterclass as the young up n coming douchey Don and super cynic lawyer Roy Cohn.
Confirms my suspicion that The Academy loves movies in which people "resolve" conflicts by shouting over the top of one another. This movie is... fine.…
Read more of this comment about AnoraThis film is probably better if you know nothing about it as there's a reveal that you might not have seen coming but... trailers, you know? Themes of…
Read more of this comment about CompanioneBooks
Customer comments
Jaqui B's second novel packs a punch. The premise is pretty out-there; JB revisits the idea of a deceased victim driving the story, as she did in Before…
Read more of this comment about Leave the Girls Behind
Would highly recommend. Gripping, suspenseful. Beautifully evoked the West Coast scenery, I can just picture the valley the children find themselves in…
Read more of this comment about The Tally StickJaqui B's second novel packs a punch. The premise is pretty out-there; JB revisits the idea of a deceased victim driving the story, as she did in Before…
Read more of this comment about Leave the Girls BehindWould highly recommend. Gripping, suspenseful. Beautifully evoked the West Coast scenery, I can just picture the valley the children find themselves in…
Read more of this comment about The Tally StickTamariki - Kids
Customer comments
9 year old says: Read this book because it is so funny! I like George and Harold's comics in this book.

The Rock does "stern and disapproving" to Chris Evans' "quippy ne'er do well" in this high tech Christmas Caper. Good family fun.
It's a fun movie, though it feels like they shoved 2 different plots into 1, and forgot about it until the last 20mins. But still worth a watch.
Who knew a book about a young trans kid dealing with the death of their only friend who is also the only other trans person they knew would hurt so much…
Read more of this comment about Dear Mothman9 year old says: Read this book because it is so funny! I like George and Harold's comics in this book.
The Rock does "stern and disapproving" to Chris Evans' "quippy ne'er do well" in this high tech Christmas Caper. Good family fun.
It's a fun movie, though it feels like they shoved 2 different plots into 1, and forgot about it until the last 20mins. But still worth a watch.
Who knew a book about a young trans kid dealing with the death of their only friend who is also the only other trans person they knew would hurt so much…
Read more of this comment about Dear MothmanRangatahi - Teens
Customer comments
This film is probably better if you know nothing about it as there's a reveal that you might not have seen coming but... trailers, you know? Themes of…
Read more of this comment about CompanionThe Rock does "stern and disapproving" to Chris Evans' "quippy ne'er do well" in this high tech Christmas Caper. Good family fun.

This is a powerful story aimed at youth but I recommend the content for adults too. Reminiscent of Madigan's Quest (Margaret Mahy) and the Divergent series,…
Read more of this comment about Truth Needs No ColourThis film is probably better if you know nothing about it as there's a reveal that you might not have seen coming but... trailers, you know? Themes of…
Read more of this comment about CompanionThe Rock does "stern and disapproving" to Chris Evans' "quippy ne'er do well" in this high tech Christmas Caper. Good family fun.
This is a powerful story aimed at youth but I recommend the content for adults too. Reminiscent of Madigan's Quest (Margaret Mahy) and the Divergent series,…
Read more of this comment about Truth Needs No ColourRecommendations
Recommendations

Reading recommendations - Fiction

New For You - July 2026
Reading recommendations - Non-fiction
FAQ
-
On November 13, 2024, OverDrive retired the MP3 audiobook format from OverDrive library websites and ended support for OverDrive's desktop apps for Windows and Mac (which only worked with MP3 audiobooks).
You can listen to audiobooks using the following options:
- In Libby (available for Android, iOS, or Amazon Fire devices or at libbyapp.com in a web browser)
- On your library's OverDrive website using the Listen now in browser option
-
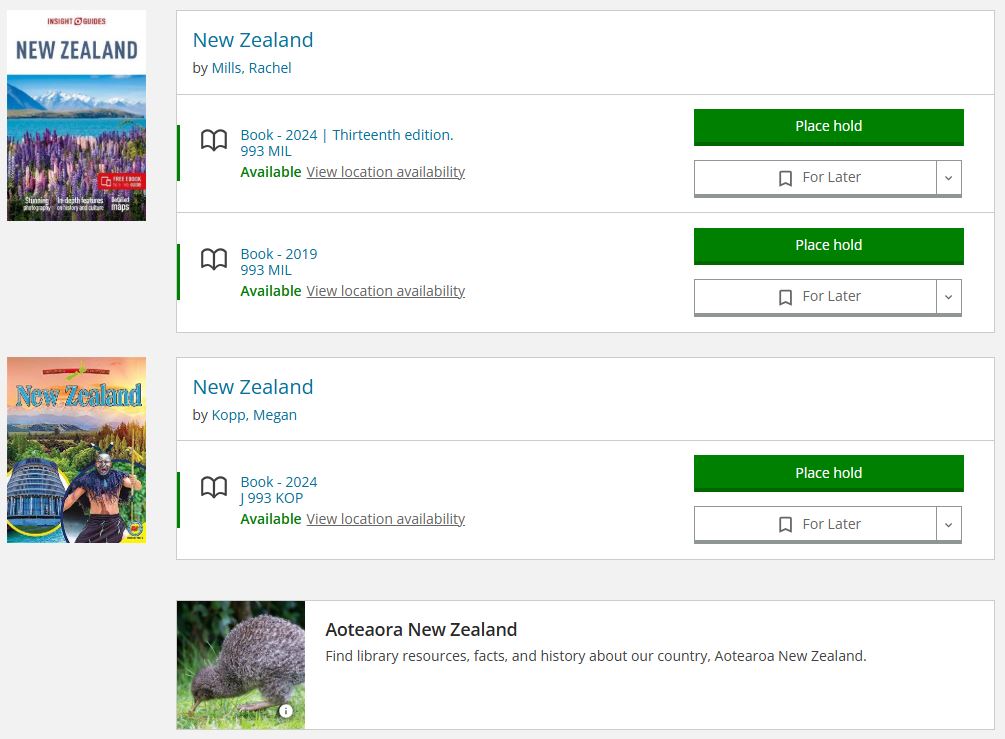
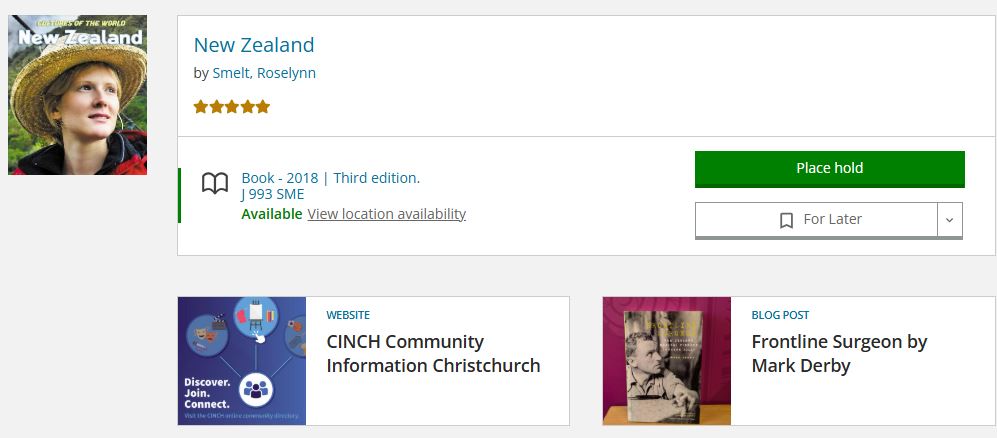
BiblioCommons has a feature called Content Promotions. It means when you do a search in the catalogue, you might get some recommended eResources, blog posts, lists or events.
For example, I searched for "New Zealand”, I got two items then a link to a page on Aotearoa New Zealand.
Further down the page. I get links to CINCH Community Information Christchurch, and a blog post about a New Zealand book.
If you click on the Why am I seeing this? text, the disclaimer explains:
You are seeing content created by Christchurch City Libraries Ngā Kete Wānanga o Ōtautahi because it is related to items returned in search results, to your search terms, or has been specifically chosen to be featured by the library. This feature does not track your personal searching activity or use your library account information to determine what content to display.
-
It can be hard work if you have to manage other people's library cards as well as your own. You can use CCL Mobile - the Library App to easily borrow and place holds for more than one library account.
CCL Mobile Apps allows you to add multiple accounts, making it easy to manage individual accounts within the app. Find out how this feature works and get started setting up more than one account on your Android or iOS device.
This is useful if:
- You are looking after the library cards of your children and borrowing books for them;
- You borrow books for elderly relatives, or people in your care.
CCL Mobile - the Library App
Download from:

Android devices - Google Play Store

- Multi-Accounts User Experience
- How to Add an Account
- How to Switch an Account
- How to Remove an Account
- Opting Out of Multi-Accounts
Multi-Accounts User Experience
The multi-accounts feature makes it easy for you to add multiple accounts to the app, switch between them from within the app, and remove accounts. The user avatar, as well as home screen personalization, provides visual identification for which account is the currently active one.
The home screen is personalized to display the active user’s full name or username (depending on the user’s display preferences).
Users can add and access multiple library cards from the My Library Cards screen. Cards are added by tapping on the ‘Add card’ button and logging in with that account.
The dot indicators correspond with the number of accounts that have been added. In the example on the left, there are two accounts. The card with the label ‘In use’ is the currently active account, and the active account is always in the first position.
An avatar at the top of the screen indicates which account is the currently active one. The avatar can be found on the following screens:
- My Borrowing
- My Shelves
- Unregistering account
- Bib page
In addition to the user avatar, the bib page displays the active user’s information in the availability panel.
Tapping on the avatar activates the account switcher, which allows the user to switch to a different account. The ‘YOU’ label is displayed for the currently active account.
User information for the active account is also displayed in the Settings screen. Tapping on this takes you to the My Library Cards screen.
How to Add an Account
It is easy to add more than one account. This is done by adding cards from the My Library Cards screen.
- On the Home Screen, tap on the library card icon.
- From the My Library Cards screen tap ‘Add a card’.
- Enter the login credentials for the card you would like to add. Logging in requires:
- Library barcode (this is the 7- to 14-digit number on the library card) OR username.
- PIN (personal identification number).
- Upon successful login, the library card will be added, but will default to an “inactive” state. If you would like to switch to this account immediately, then tap “Use this card” (see How to Switch an Account).
Some additional notes:
- There is a maximum limit of 8 cards that can be added.
- When you log in with a new account from the login screen, that card is automatically added and will become the active account.
- Added accounts do not persist across multiple devices you might have BiblioApps installed on. Accounts need to be added for each device separately.
How to Switch an Account
The active account can be switched from multiple places in BiblioApps.
Switching accounts from My Library Cards
- Swipe to the card that you’d like to activate. (The currently active account is always the first card in the collection of cards).
- To activate a card, tap on the Use this card button.
- Alternatively, tap on the ellipsis on the card to be activated, then tap on the Use this card button from the bottom sheet.
- Upon successful activation, a success message will be presented, and the activated card will take the first position.
Additional notes:
- A library card is still scannable when in an “inactive” state, so switching the account is not necessary for the purposes of scanning.
- You can also switch accounts from the Setting screen. Tapping on ‘Manage cards' will take you to the My Library Cards screen.
Switching Accounts Using the Avatar
Tapping on the user avatar brings up the account switcher. The avatar is visible on the following screens:
- My Borrowing
- My Shelves
- Unregistering account
- Bib page
To switch accounts using the avatar:
- Tap on the avatar located at the top right of the screen.
- The account switcher will display from the bottom of the screen. Select the account you’d like to activate. (The currently active account is the first one presented, and displays the ‘YOU' label.)
- Upon successful activation, a success message will be presented. The avatar will be updated to the newly active account.
How to Remove an Account
Removing accounts from BiblioApps is done from the My Library Cards screen.
- On the Home Screen, tap on the library card icon.
- Swipe to the card that is to be removed.
- Tap on the ellipsis, then tap on the Remove card button.
- The user will be asked to confirm removing the card.
- Tapping on Confirm removes the card, and a success message is displayed.
Additional notes:
- The currently active account cannot be removed. To remove the card for the active account, activate a different card first.
- Logging out of the app does not remove cards. Cards are removed explicitly by following the steps above. However, deleting the app does remove all the stored accounts. Upon reinstalling the app, cards will need to be added again.
- Unregistering an account removes the card from the app.
Opting Out of Multi-Accounts
Currently, individuals do not have the option to opt out of multi-accounts. If a user does not want anyone adding or switching to their account, a user can change their PIN. This will mean any other user attempting to switch to the account will need to remove and re-add the account with updated credentials. Note: adding an account requires both the barcode and the PIN for the account. A user cannot add an account with only the barcode.

A Little Trickerie
A tale of tricks, belief, and friendship in Tudor England told from the perspective of a teenage vagabond girl finding her way in a world that would brand…
Read moreRead more of this comment about A Little Trickerie