3D Printing
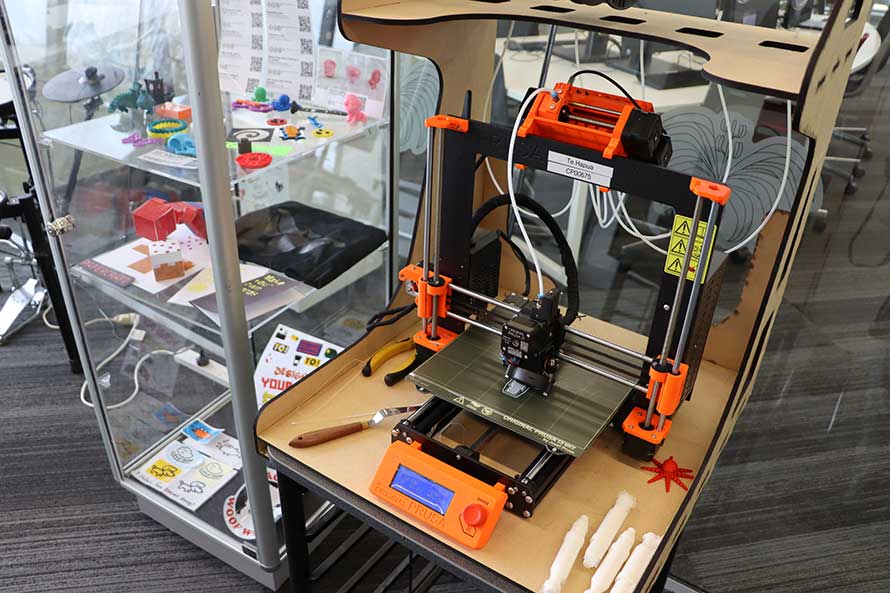
You can design and print 3D designs at Christchurch City Libraries. We have several 3D printers that can be used to make small objects out of plastic. The plastic we use is called PLA. It is derived from corn starch and is recyclable and biodegradable, but not garden compostable.
Auahatanga Creative Spaces: PricingAuahatanga Creative Spaces: Pricing
A 3D printer is available at Matatiki Hornby Centre, Te Hāpua: Halswell Centre, and Tūranga during Creative Times.
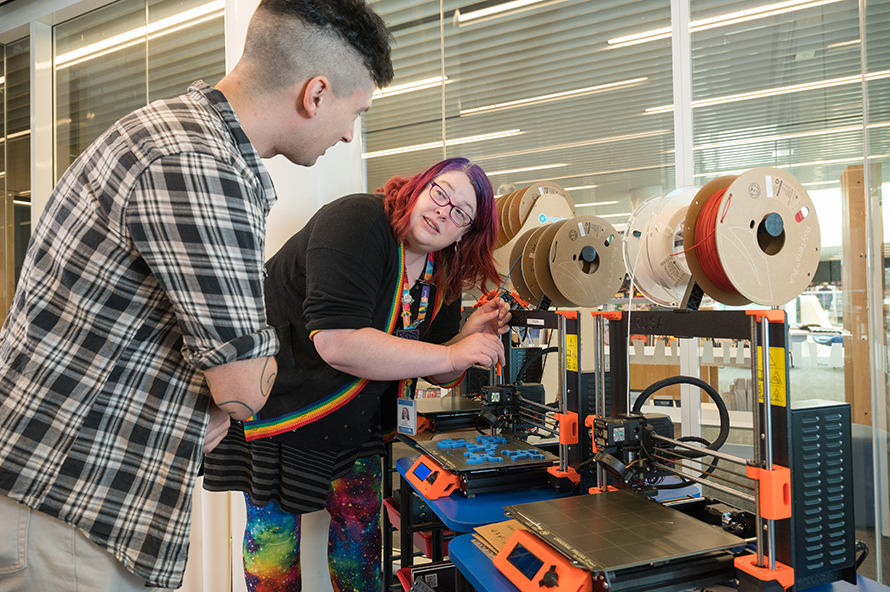
Use our Book a Creative form to arrange a time that suits you to get one-on-one help.


To design your own 3D model, you can use the web-based 3D design software Tinkercad. This is free to use, but requires you to sign up for a user account. Tinkercad has great tutorials starting with how to create simple shapes such as spheres, cubes, cylinders, wedges, pyramids, etc., which you can move, stretch, squash, rotate, twist, make holes in, add text to, and combine in various ways to make increasingly complex shapes. Models are printed in a single colour. We generally have black, white, and grey. If you have no particular preference, we will use the existing filament in the first available printer.
In order for our 3D printer to be able to print your file, you will need to convert your 3D model into an STL file. This is a standard file format for 3D models, and these files always end with “.stl”. As well as exporting your own Tinkercad file as on STL file, you can also find STL files that you can download from various websites, often for free. A useful website for searching for STL files is called Thingiverse, or you could use the search engine Yeggi to search across lots of different sites.
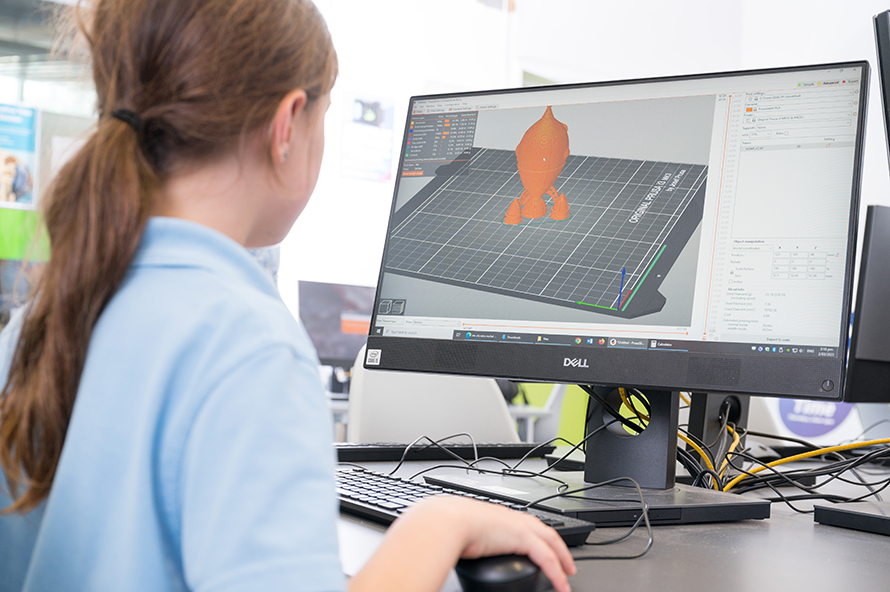
Once you have an STL file that you want to print, we need to convert it into a series of horizontal layers, or slices, that the 3D printer can make. This process is called slicing. Each layer consists of a series of movements of the extruder, which creates a layer of plastic. The printer’s base plate then moves down by a fraction of a millimetre so that the next layer can be added on top. Because layers are added on top of previous layers, we need to make sure that your file can be printed with each layer supporting the one below. This is not the always the case as not every 3D model you find on the internet is designed to be printed.
This is also when we decide:
- Which way up to print your model.
- How big it should be.
- How densely the inside should be filled with plastic.
- Whether to build your model on top of a plastic raft.
- Whether it needs supports to hold up parts of it during printing.
This is a complex process that requires some advanced understanding and experience. It is sometimes necessary to experiment, problem solve, and tweak various settings to find a way to print complex models.

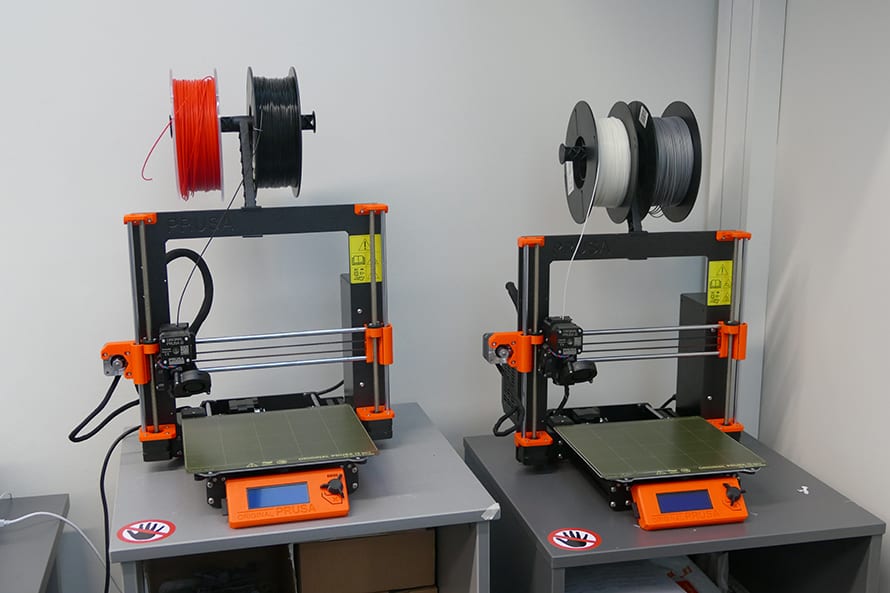
We currently have Prusa i3 MK3 3D printers. The maximum dimensions are shown below, but anything close to this size is likely to exceed our maximum print time of 8 hours. You may need to consider scaling down, or splitting your model into several smaller parts that can be printed separately.
Prusa i3 MK3 (maximum build volume of 25.0 cm L X cm 21.0 W X cm 21.0 H)
Get ideas for what to make by reading or watching 3D printing resources in our collection.

Videos
Watch our how-to videos:
Getting started with Tinkercad
Understanding PrusaSlicer
Using the 3D printer
Check Linkedin Learning for courses on 3D printing and modelling designs.
Get ideas for what to make by reading or watching 3D printing resources in our collection.
Worried about 3D printer waste?
Learn about how our 3D printer waste gets reused by Remix Plastic.
Can't make a Creative Time or need expert guidance?Can't make a Creative Time or need expert guidance?